

Before auto buffing and polishing, invest in quality tools like buffers, pads, and cleaners. Thoroughly wash and clean the vehicle to remove dirt and debris. Apply even strokes with a steady speed during buffing, checking progress regularly.
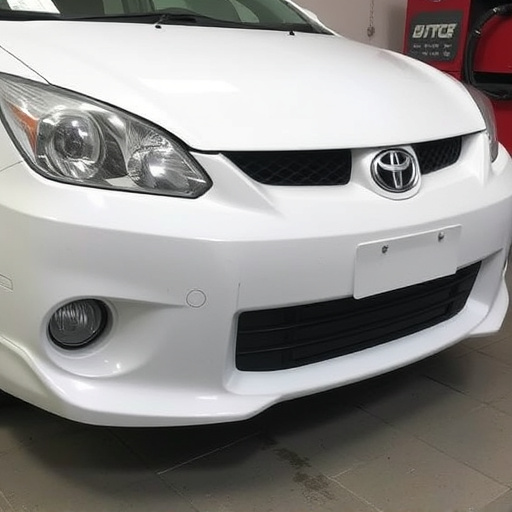
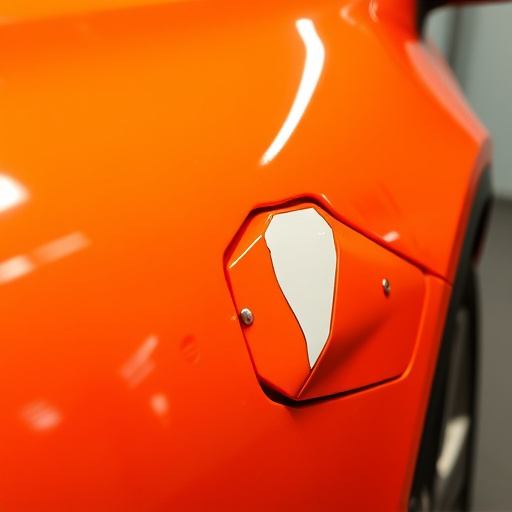
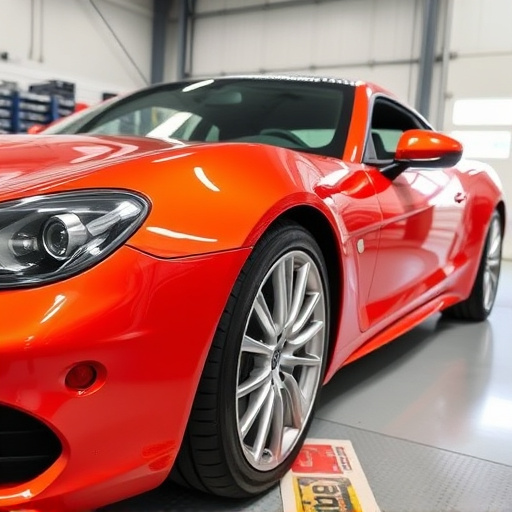
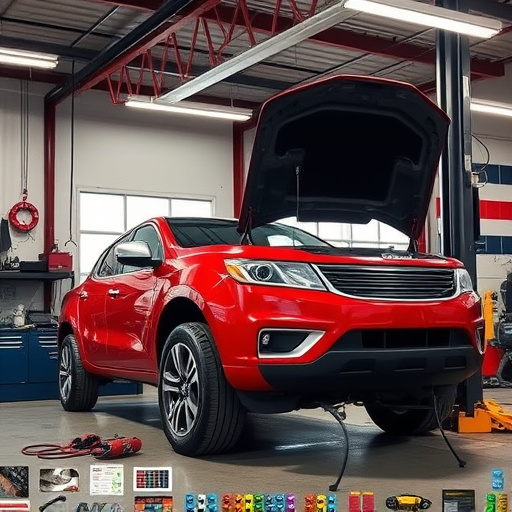
Get ready to transform your vehicle’s exterior with a professional-level shine! Auto buffing and polishing is an art that can enhance the look of your car, making it stand out. This guide will walk you through the essential steps to prepare your ride for this process. From gathering the right tools like polisher machines and compounds to ensuring a clean surface, each stage is crucial. Learn how to apply polish evenly with gentle strokes, revealing a smooth, glossy finish that will leave folks in awe of your gleaming vehicle.
- Gather Necessary Tools and Materials
- Wash and Clean the Vehicle Thoroughly
- Apply Polisher and Buff in Even Strokes
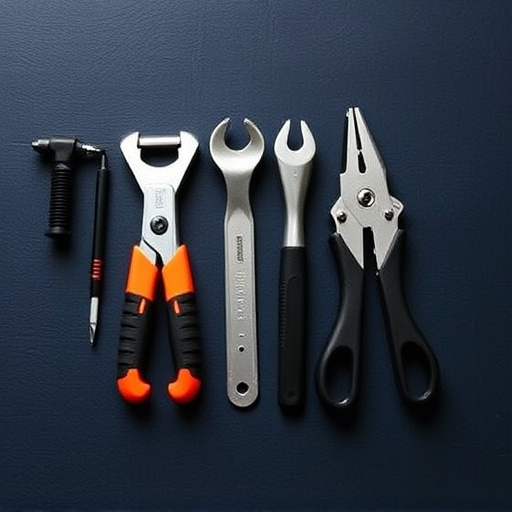
Gather Necessary Tools and Materials
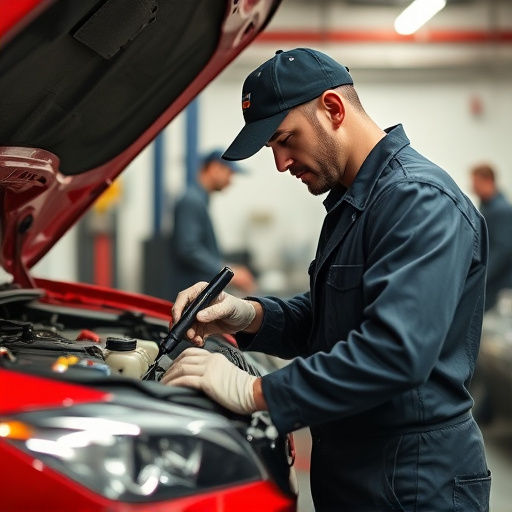
Before beginning any auto buffing and polishing process, it’s paramount to have all the right tools and materials on hand. This includes a quality buffer, either rotary or orbital, along with a selection of various grits of polishing pads to accommodate different surface needs. A good polish, applicator pads, and microfibre cloths for finishing are essential components as well. For detailed work, consider a dual-action buffer for consistent results.
Additionally, having access to a versatile cleaner or degreaser is crucial for prep work, especially when dealing with fleet repair services or post a fender bender. These products help remove dirt, grime, and even old wax residues, ensuring a clean canvas for your auto buffing and polishing session. Remember, the right tools make all the difference in achieving a flawless finish.
Wash and Clean the Vehicle Thoroughly
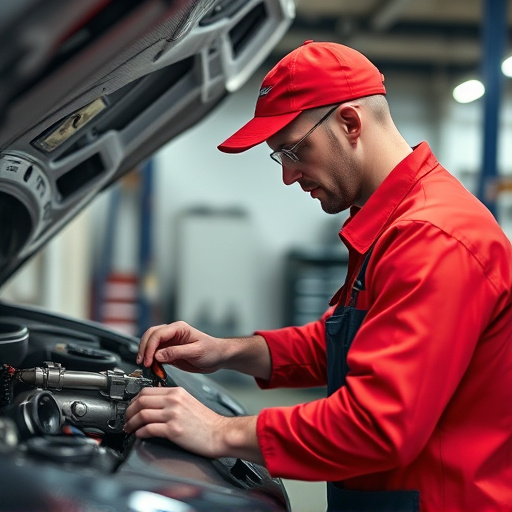
Before you begin the process of auto buffing and polishing, a thorough wash and clean are non-negotiable steps in your preparation. Start by hosing down the vehicle to remove any loose dirt or debris, ensuring every inch of the car’s surface is free from grime. Use dedicated car washing products to create a sudsy lather, focusing on areas prone to stains like door jams, wheel arches, and the underbody.
For a deep clean, employ a microfiber wash mitt or sponge to gently scrub the vehicle’s exterior, paying close attention to any persistent marks or spots. Don’t forget to clean the wheels and tires too, as these can accumulate brake dust and other residue. Once the car is sparkling clean, rinse it thoroughly again to ensure no soapy residue remains—this step is key for achieving a flawless finish during auto buffing and polishing, setting the stage for seamless vehicle repair and scratch repair processes.
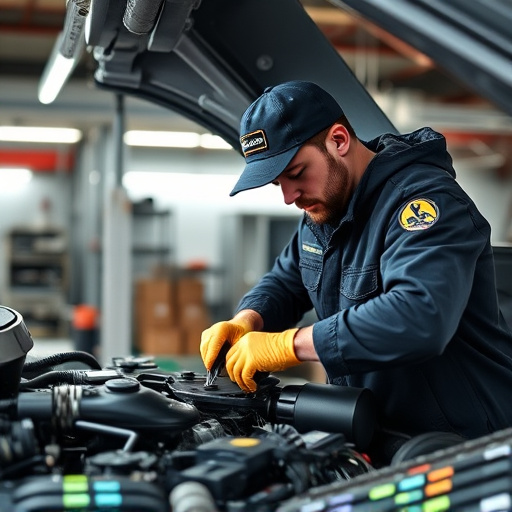
Apply Polisher and Buff in Even Strokes
When applying polisher and buffing your vehicle’s surface, it’s essential to use even strokes for the best results in auto buffing and polishing. Start with a small section at a time, ensuring that each pass of the buffer covers an equal area. This consistent approach guarantees an even finish across your car’s body, eliminating streaks or uneven spots. Maintain a steady speed while buffing, allowing the machine to do the work efficiently without putting excessive pressure on any part of the vehicle.
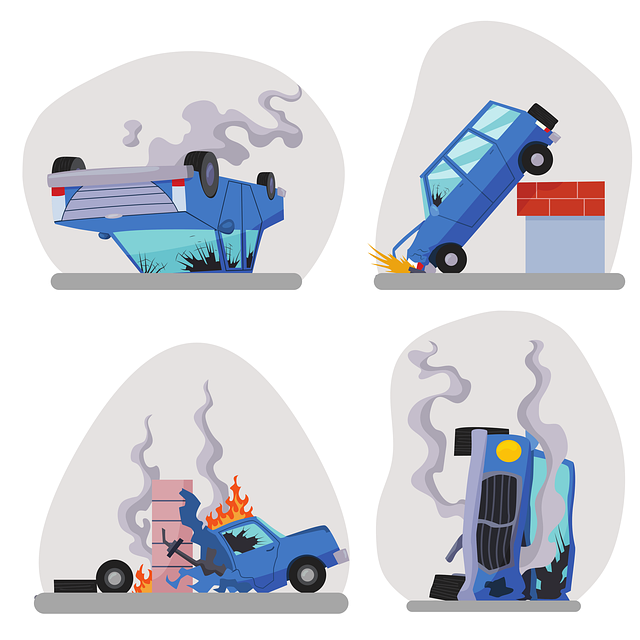
For optimal collision damage repair and restoration, follow up each pass with a gentle rub using a clean microfibre cloth. This step helps to assess the progress and pick up any remaining particles or residue. Regularly checking your work during auto buffing and polishing enables you to identify and rectify issues early on, ensuring that your vehicle’s exterior is restored to its pre-collision condition through effective collision repair services.
Prepping your vehicle for auto buffing and polishing involves a few key steps. First, gather all the necessary tools and materials, ensuring you have everything from cleaning supplies to the polisher itself. Next, wash and clean the car thoroughly to remove any dirt or grime that could hinder the buffing process. Finally, apply the polisher in even strokes, following the manufacturer’s instructions for best results. With these simple steps, your vehicle will be ready for that professional shine, making it stand out like new.